
Deploy your first server
Getting a server online takes a few minutes. The deploy wizard walks you through four short steps, then hands off to secure checkout. As soon as payment is confirmed, we start building your server and you can watch the progress live.
Before you start
You will need a Wumpo account. If you do not have one yet, you can create it during checkout or from the sign-in page. See Your account for the sign-in options.
Step 1: Pick a game
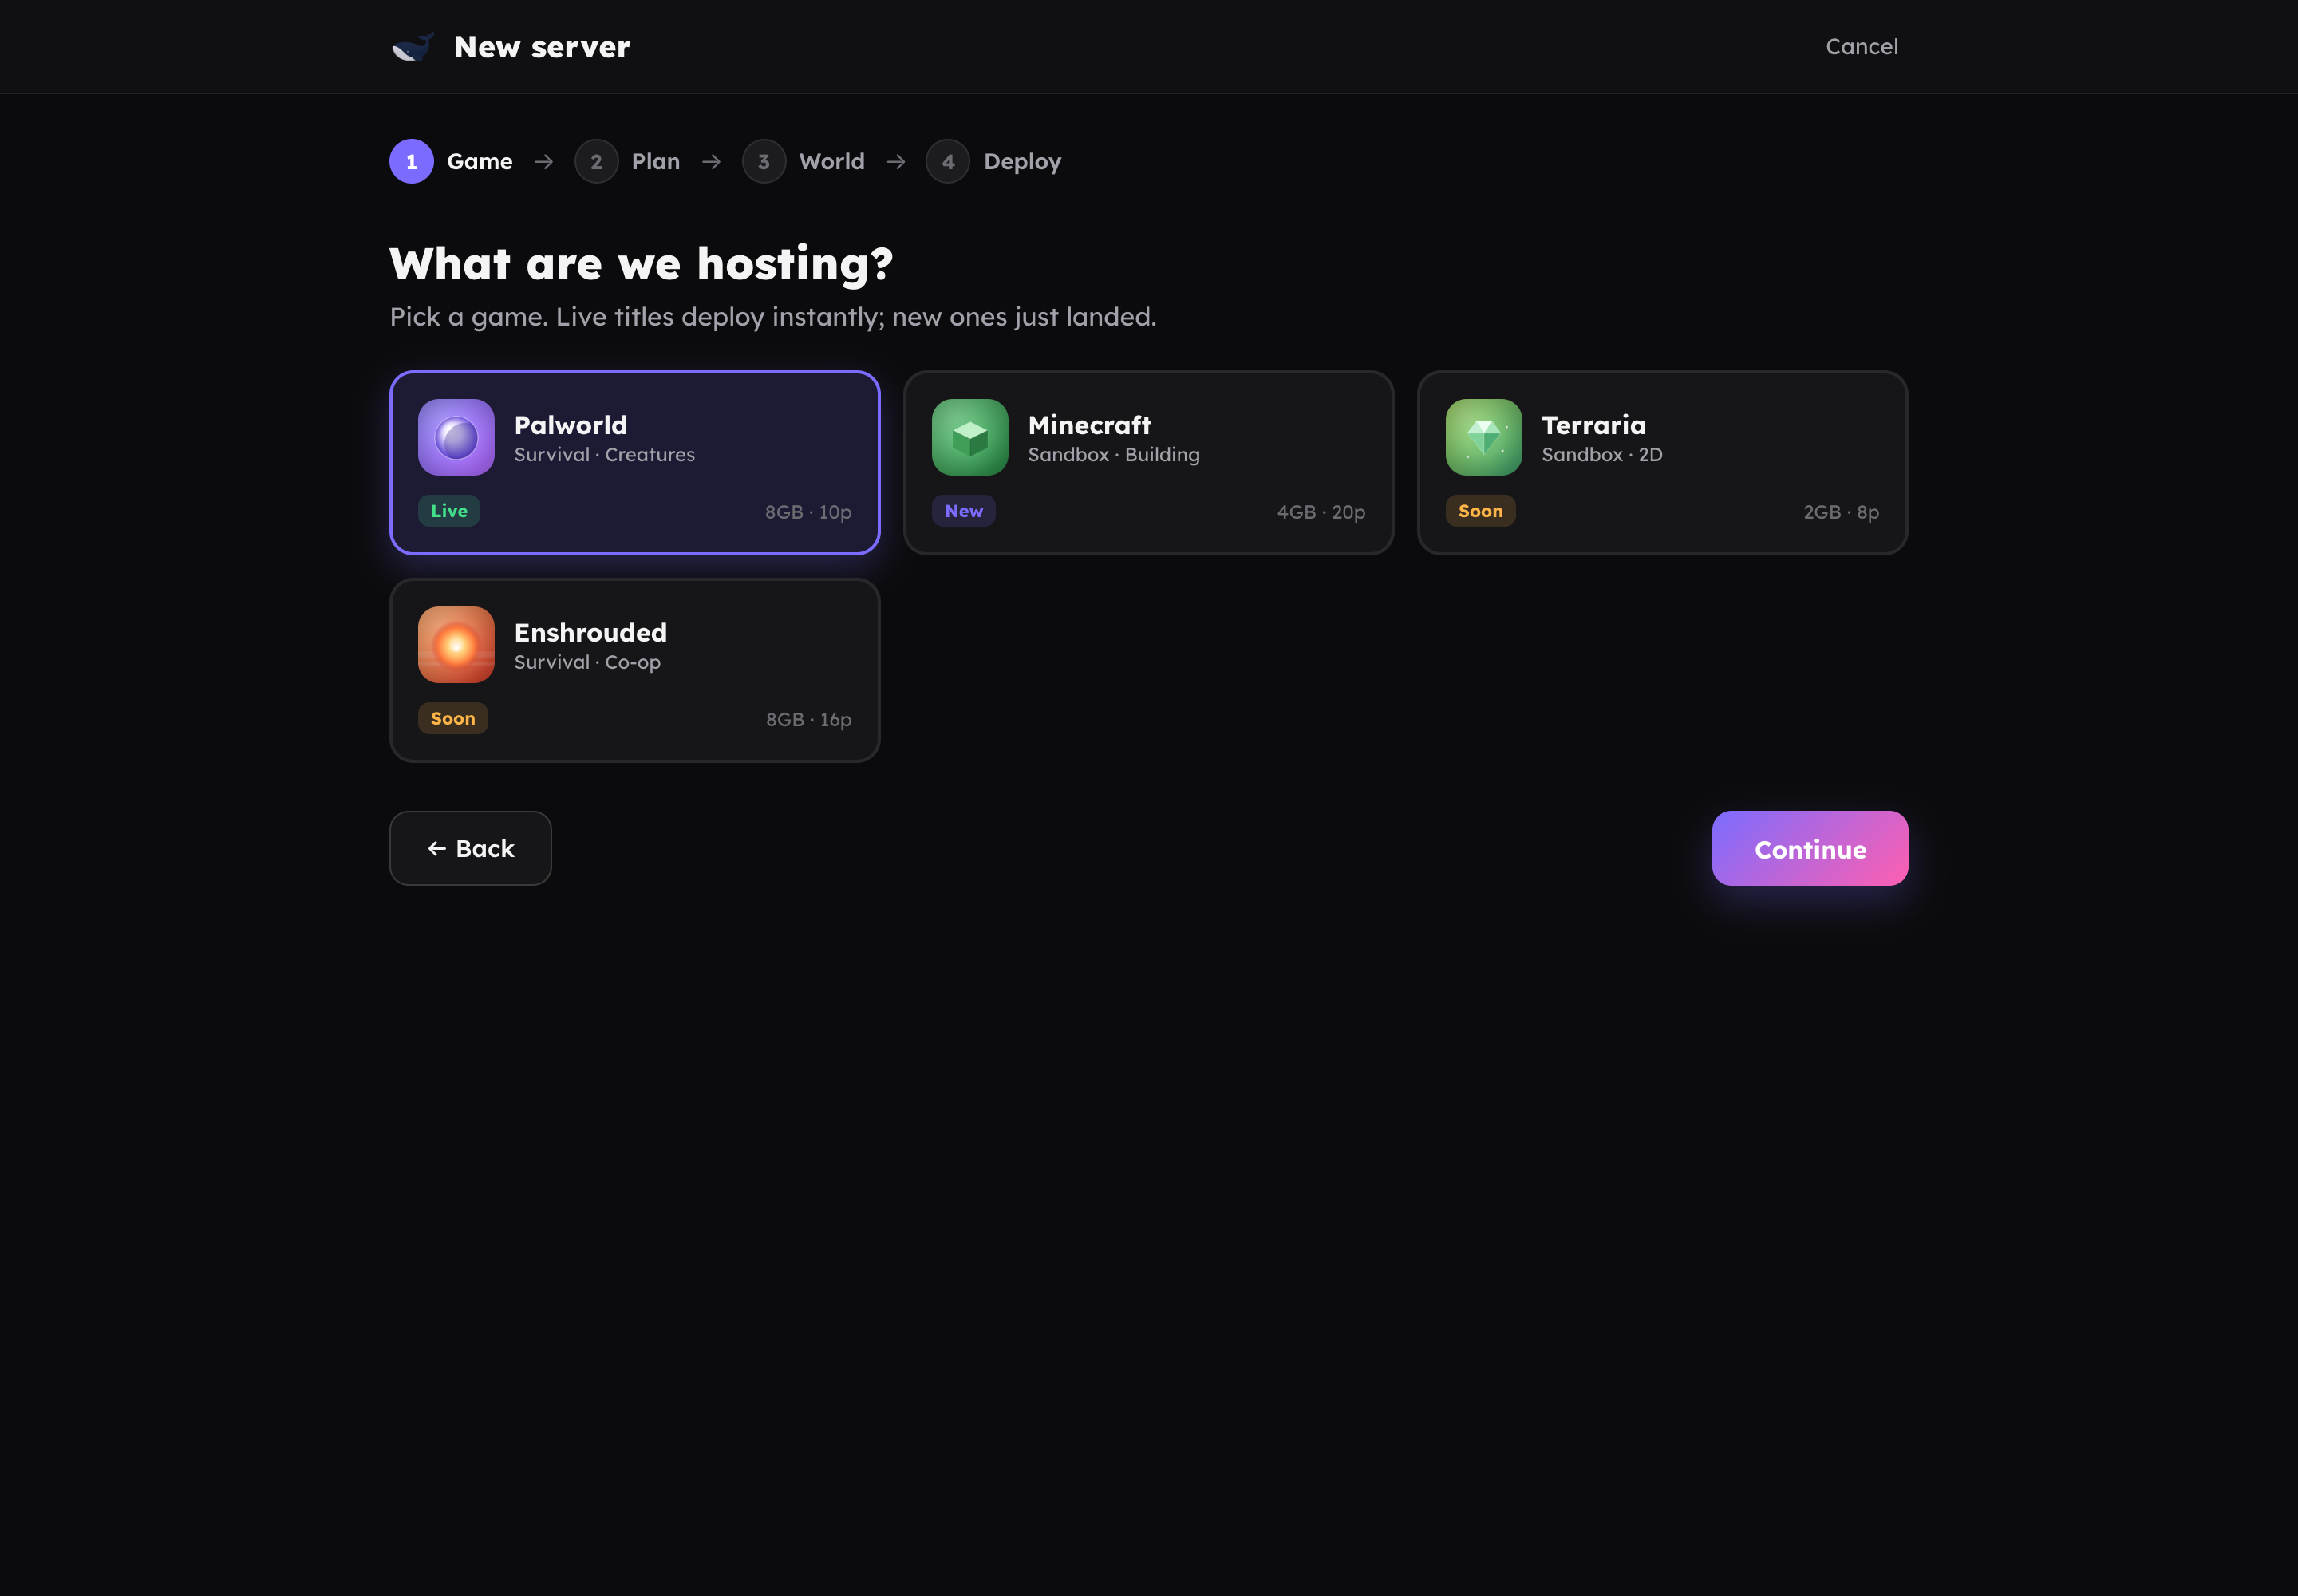
Choose the game you want to host. Each game shows its recommended memory and typical player counts to help you decide. Palworld, Minecraft, Terraria, 7 Days to Die, Project Zomboid and Rust are available today.
If you pick Minecraft, you will also choose an edition:
- Java is for PC players using Minecraft: Java Edition, with mods and plugins.
- Crossplay lets PC, mobile and console players join the same world together.
See the Minecraft guide for the difference in detail.
Step 2: Pick a plan
Plans set how much power your server has, which affects how many players and how large a world it comfortably handles.
| Plan | Best for | Players |
|---|---|---|
| Nano | A tiny box for lighter games | Up to 4 |
| Scout | A bit more room | Up to 6 |
| Outpost | The proven starter box | Up to 6 |
| Ridge | Faster cores for a heavier world | Up to 8 |
| Squad | The friend-group favourite | Up to 10 |
| Colony | Big worlds and modpacks | Up to 20 |
The wizard only shows the plans that fit your chosen game, so the smaller Nano and Scout plans appear for lighter games like Minecraft and Terraria, while heavier games like Palworld start at Outpost. You can bill monthly or yearly. Yearly works out cheaper per month. Full details are on Plans and pricing.
Step 3: Choose a region
Pick the region closest to most of your players for the lowest latency. Available regions are Europe West, US East, US West and Asia SE. See Regions for the full list.
Step 4: Name it and set it up
Give your server a name and set the basics:
- Server name. What your squad sees.
- Join password. Optional, so only people you share it with can connect.
- Seed. Optional, to start a specific world.
- Preset. A quick starting point for the rules: Chill, Normal or Hardcore. You can fine-tune everything later in World settings.
- Keep always-on. Leave your server running around the clock, or let it hibernate when idle to earn Wumpo Points.
Checkout and go live
Review your choices and continue to checkout. Payment is handled by our payment provider on a secure page; Wumpo never sees your card details. If you have a promo code, there is a box for it on that checkout page.
Once payment is confirmed, provisioning begins and the wizard shows live progress: creating the machine, installing the game, applying your settings and opening the ports. When it finishes, your server appears in your dashboard, ready to connect.
Connecting your squad
When the server is online, open it in the dashboard to find its connect address. Share that address (and the join password, if you set one) with your friends. Step-by-step connection instructions for each game are on Connecting to your server.